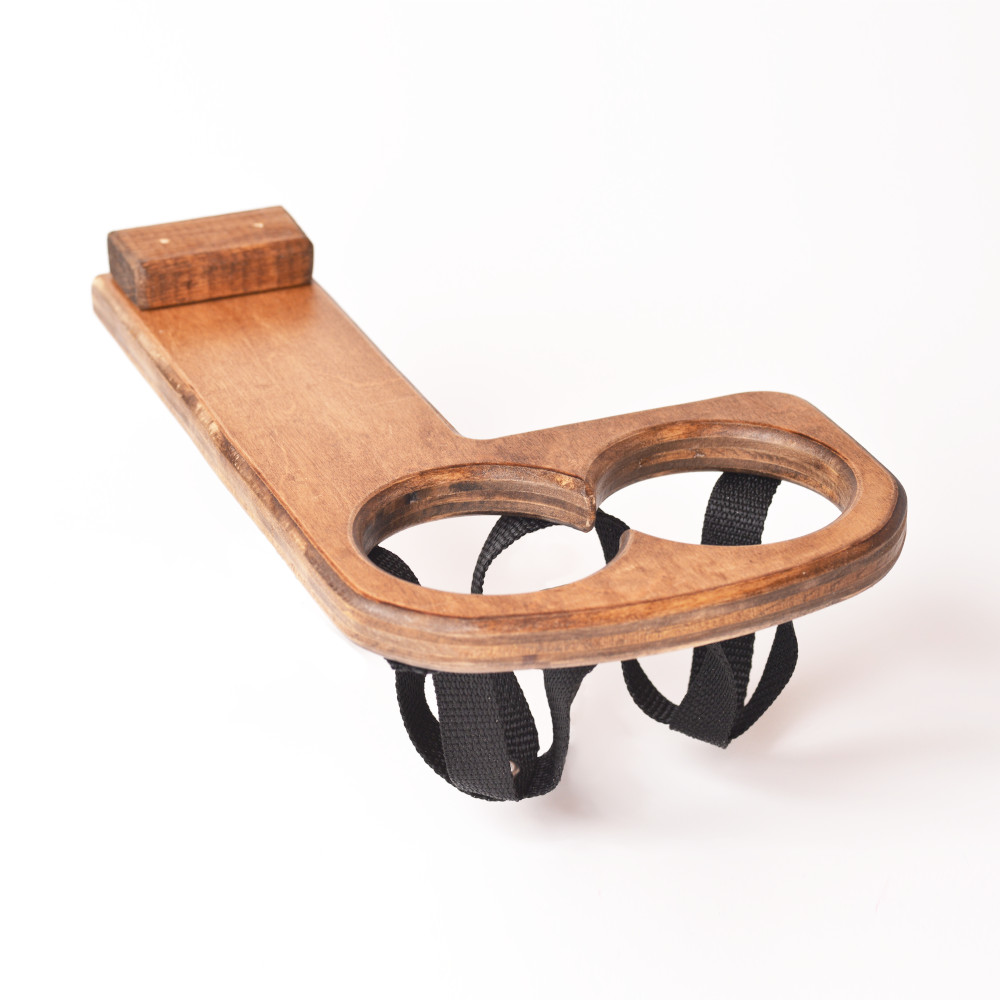
The classic Volkswagen Beetle is a great car that has stood the test of time. Its easy to work on, attractive to look at and a lot of fun to drive, assuming driving fast in a slow car is your thing. Its nearly impossible to fill the tank and not have someone fondly tell you a story of one they used to own. Except the Beetle doesn't have any cup holder. None in the back, none in the front and none in the doors. That's a problem. Luckily, I like to solve problems.
Paper fast food cups should never be secured with seat belts.
One day at work I drove the bug over to a local fast food restaurant for lunch. As I buckled my large cup of Coke to the passenger seat I hoped it wouldn't spill as I drove the mile back to the office. I went over a speed hump in the fast food restaurant's parking lot fifteen feet from my parking spot and my soda spilled all over the passenger side floor. Paper fast food cups should never be secured with seat belts.
A Gift
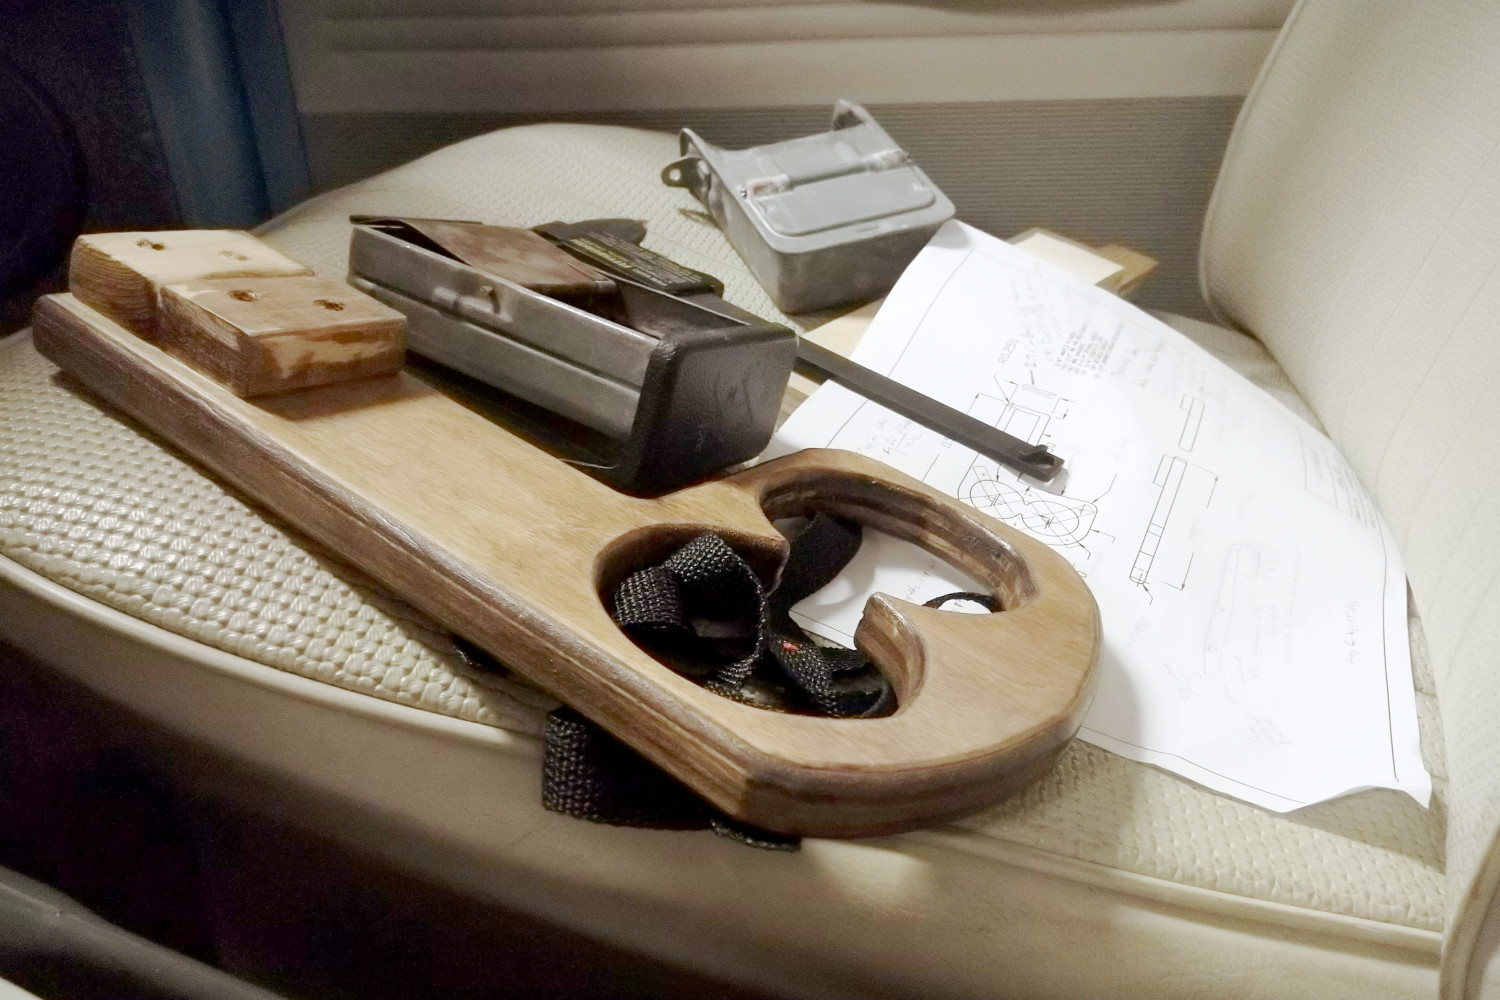
A year or two after the spilled drink incident I was at a local VW show. I commented to the owner of a VW Beetle that I liked the cup holder sticking out of his dash and he said he made it himself and had sold a few. We chatted for a few minutes and then moved on. At the end of the day I walked back to my own Beetle and found a new cup holder sitting on the seat. I looked around to thank the gentleman, but he had already left the show.
After using that cup holder for several years I knew it was a great idea. But I knew I could make a better one. The holes were the perfect size for soda cans, but not larger drinks. Plus the rough cuts and square corners weren't very appealing.
Just Build It
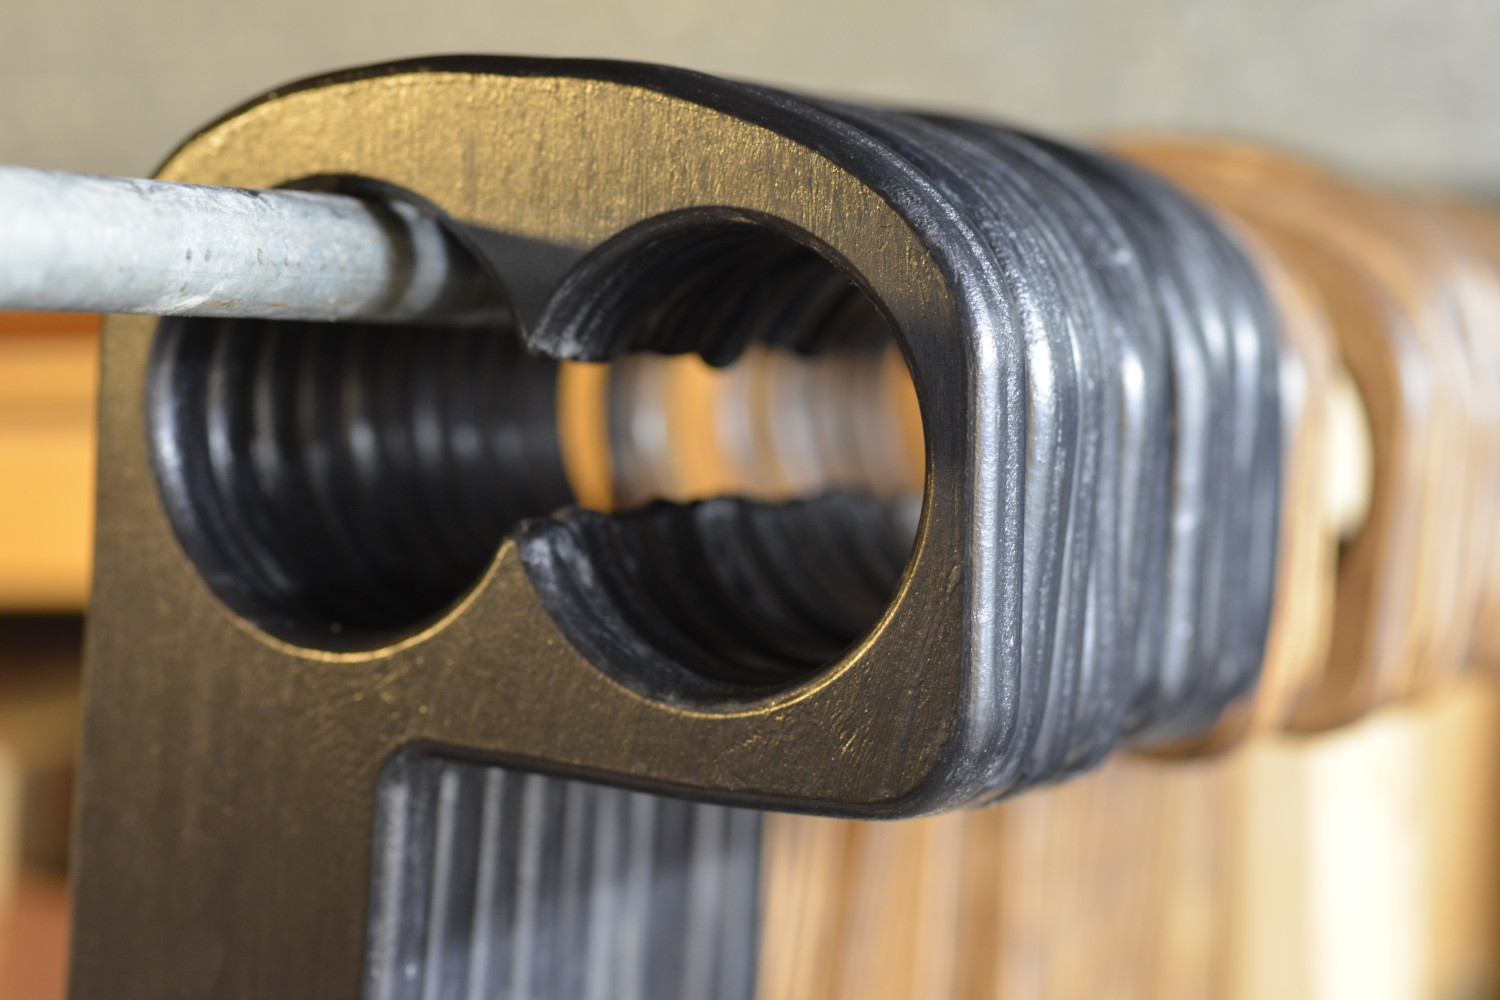
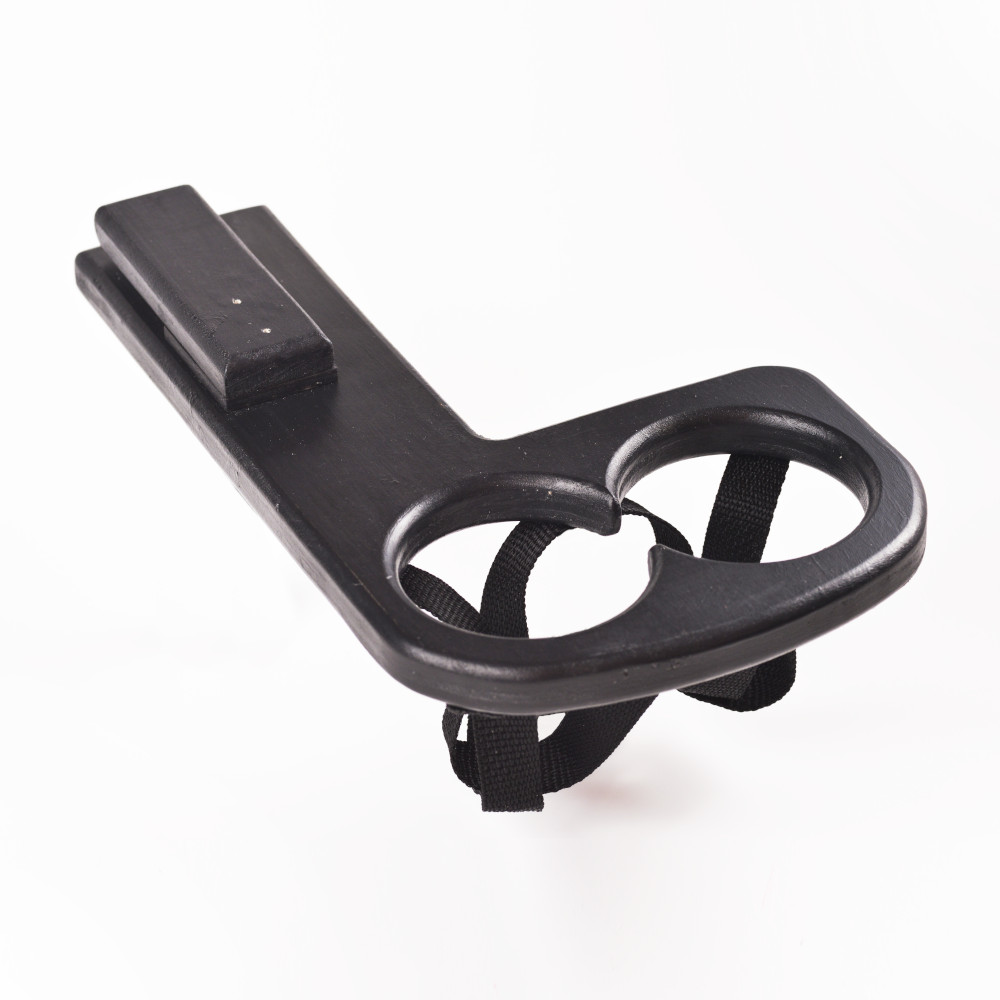
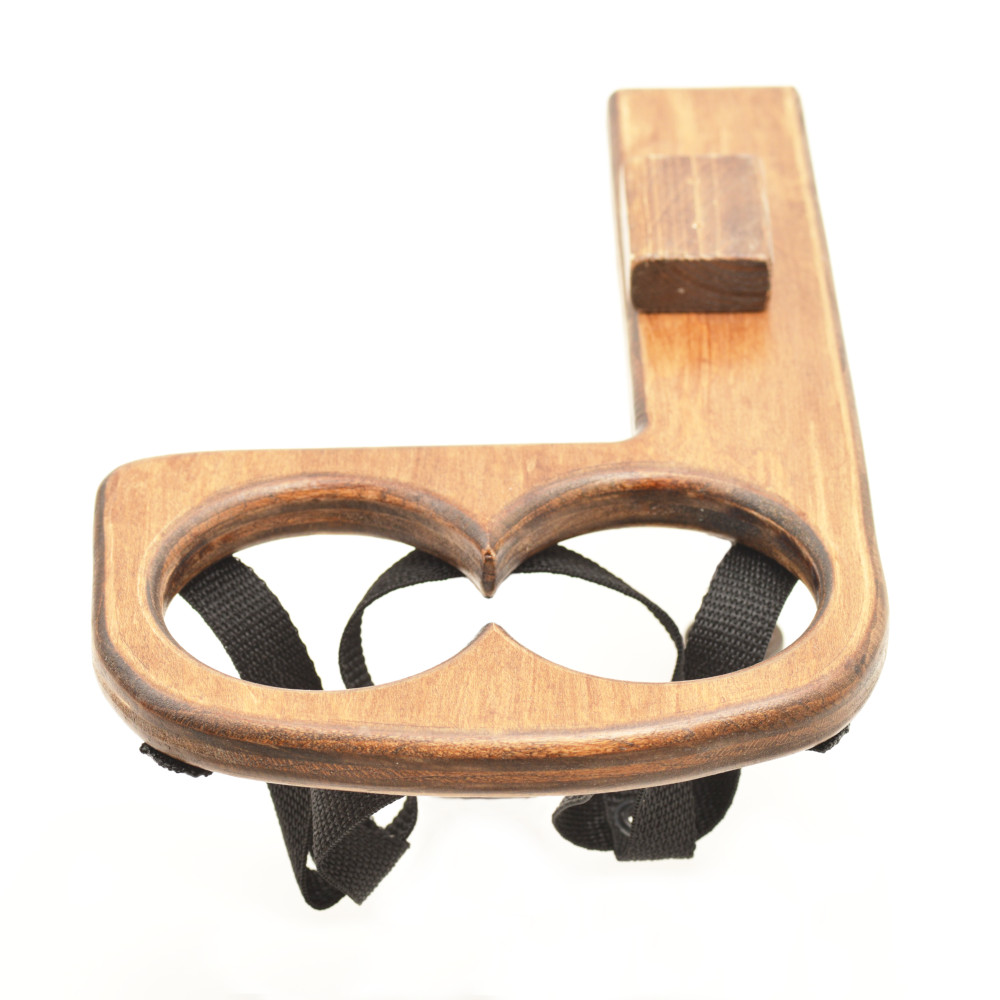
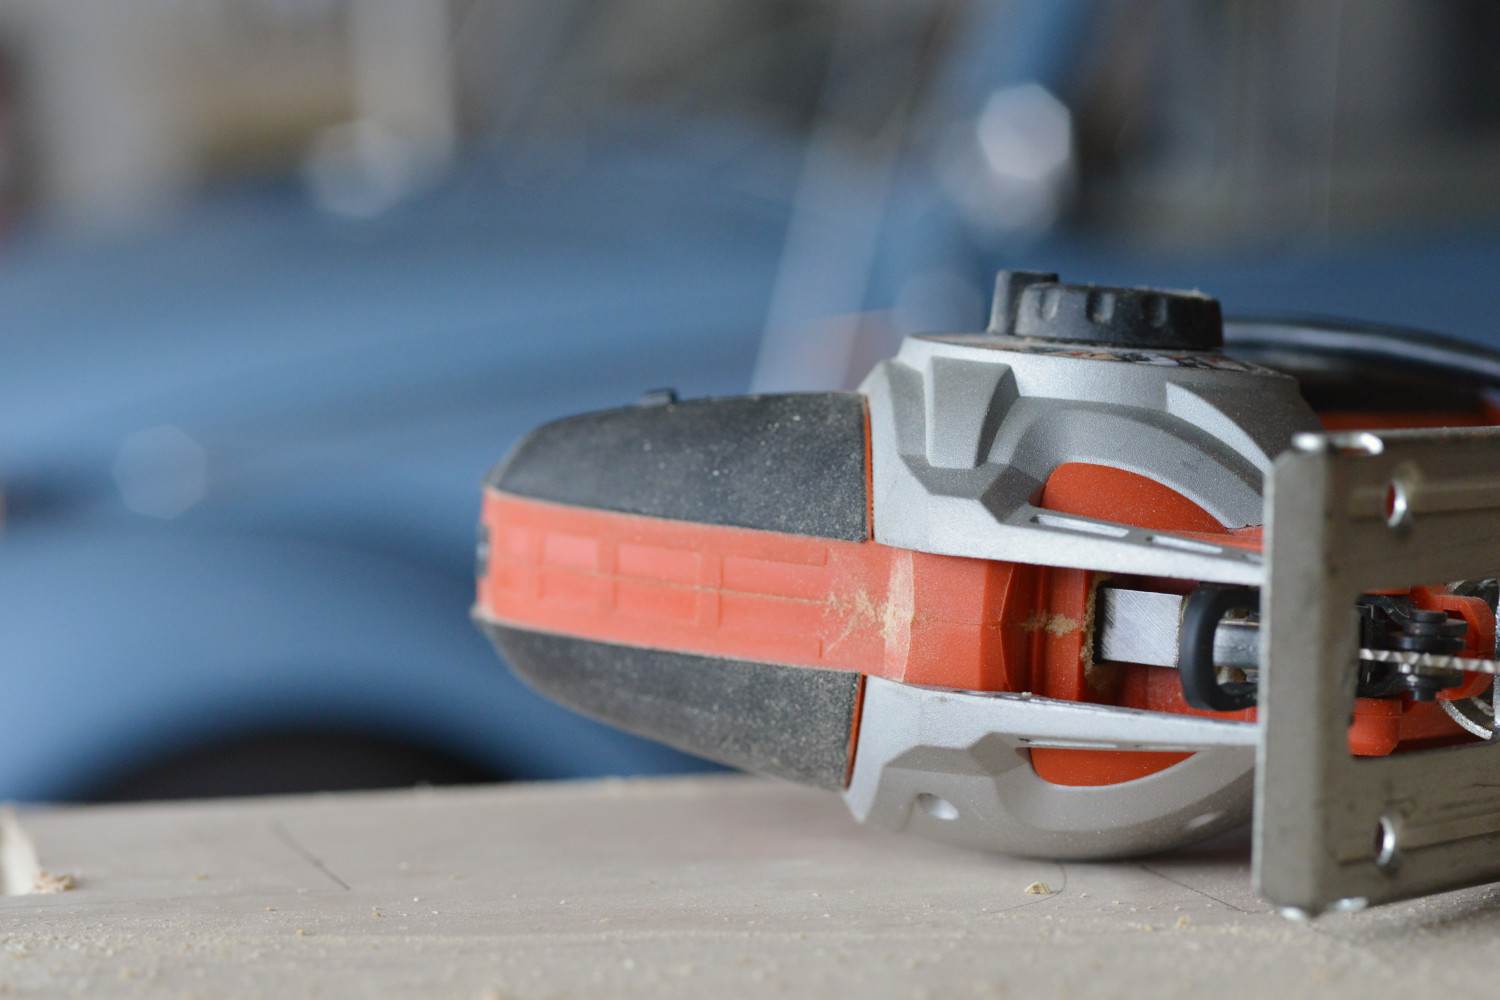
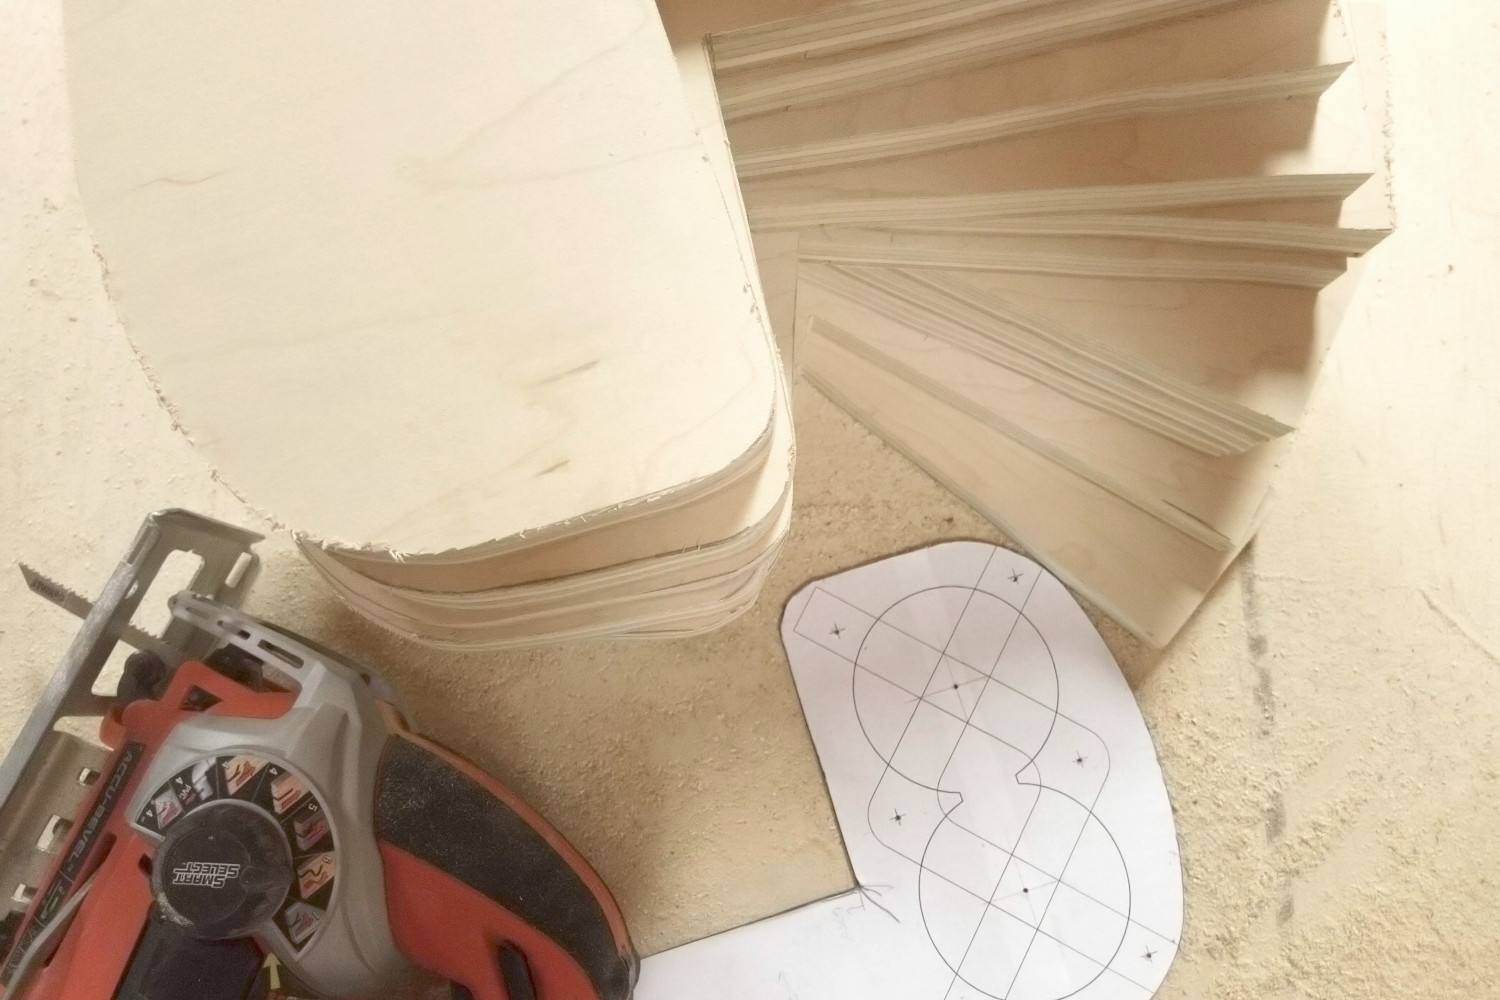
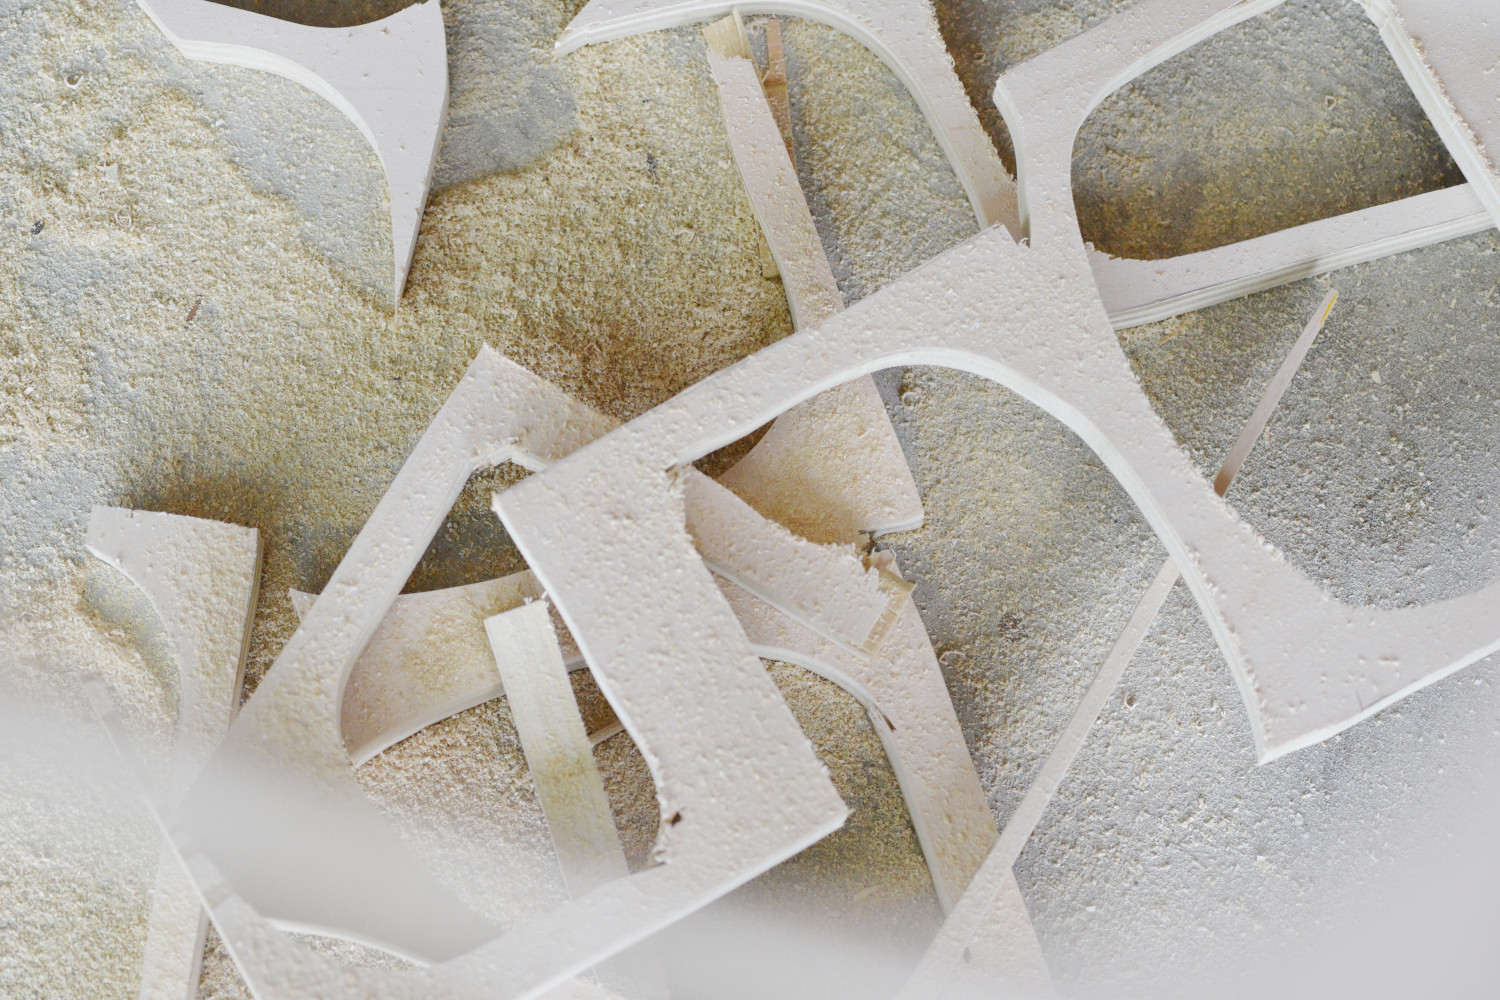
Fabrication of each cup holder is a twenty-two step process beginning with a sheet of plywood. I use a template to trace the rough shape and then its cut out with a jig saw. Maybe one day I'll get a CNC router, but for now its a handheld jig saw. Next up is drilling a pair of three inch holes on the drill press and a little work to clean up the edges before routing all the edges to give a nice overall shape before a final sanding.
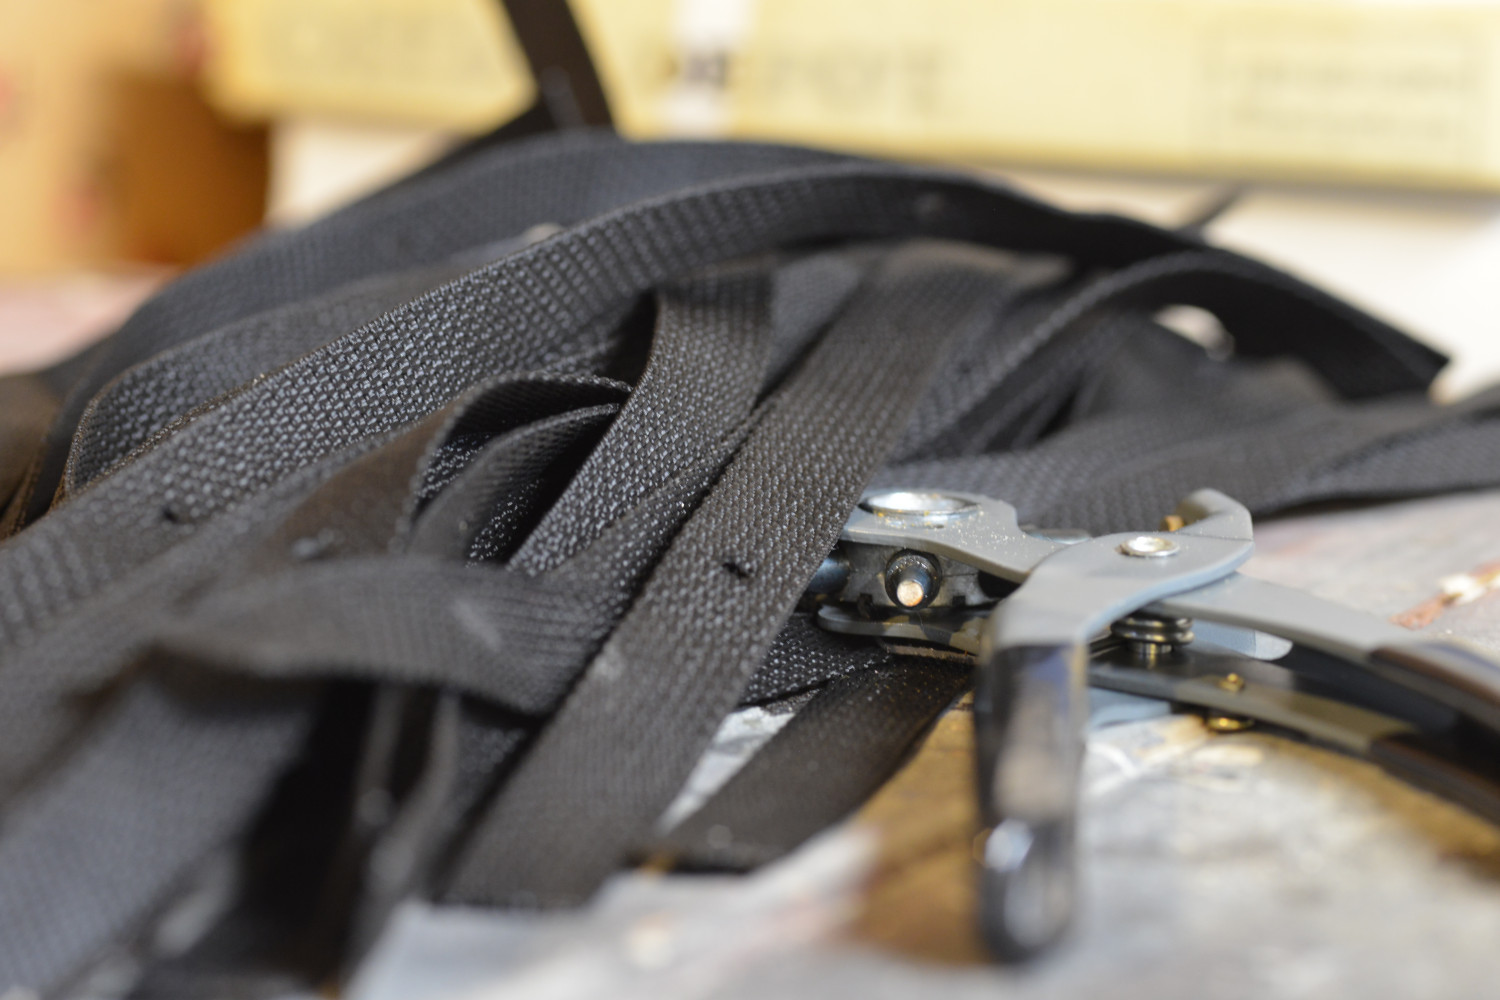
After the main piece of wood is ready, the blocks for fitting into the ash tray opening are cut to size and sanded. Then everything is either painted or stained and given two coats of polyurethane for durability and a little shine. Then the blocks are glued and nailed onto the main piece. Straps are cut to length and grommets are added before being screwed to the cup holder. Finally everything is looked over, each cup holder is labeled and a hang tag is added before being boxed up and shipped to you.
